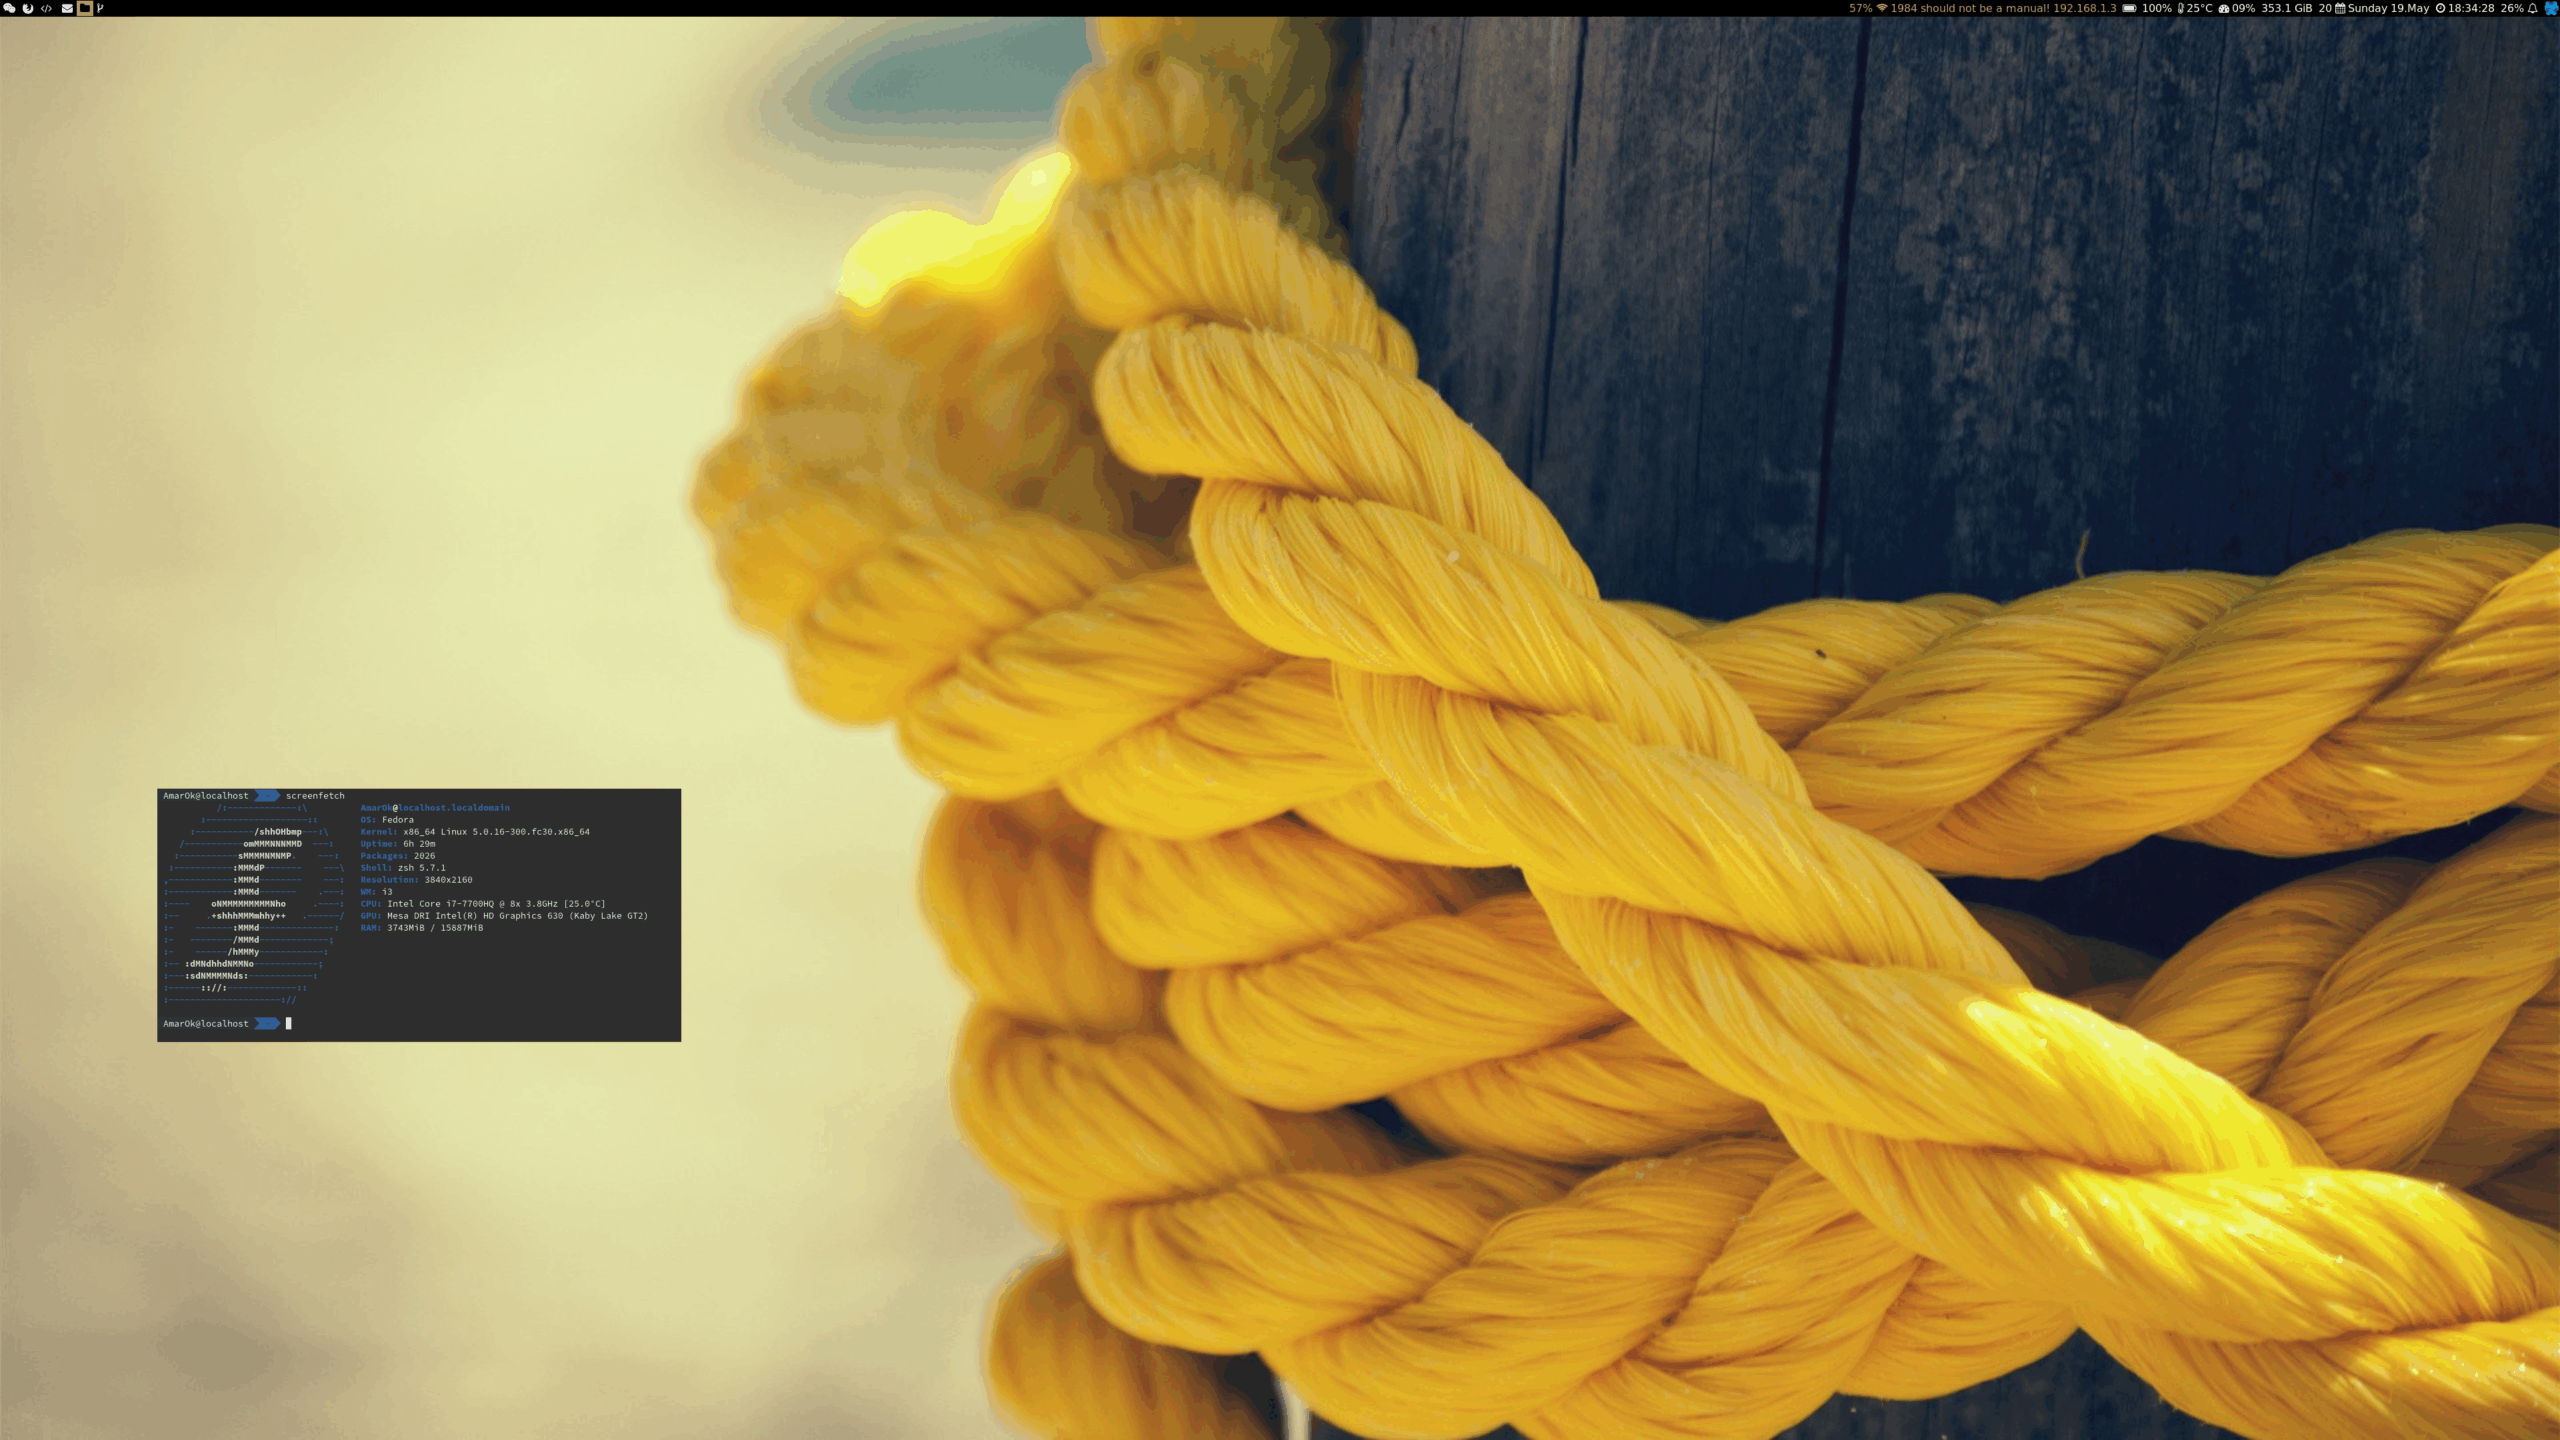
These .dotfiles are used (mainly) on a Dell XPS 9560 with Fedora 30 and
(minus ansible) a Thinkpad P51 with Ubuntu 19.04.
Configured softwares
This repository contains my configurations for the following softwares:
i3
rofi
git
zsh
Automate all the things
For now, ansible is used to install a new desktop from scratch. The roles
will install all the softwares I need, init all my projects repositories
and copy my important datas on the device.
This is the process I use to install a new device:
Install a new distribution manually
Mount my encrypted back-up to /tmp/decrypted_lutices
Manually copy my .ssh keys and add it to the agent
Quick tutorial to setup a Cloud Server for multiple machines access, and VFX Pipeline on Windows, macOS and Linux.
This repository is based on Google Drive VFX Server, with loads of improvements.
Setup Server
First, you’ll need to mount your Cloud server on your system, using any software you like (rclone, Google Drive File Stream, etc.)
We can then start moving files around. The setup only relies on environment variables:
SERVER_ROOT: The root of the mounted Cloud server. This is the only value that needs to be changed depending on your setup
CONFIG_ROOT: The .config folder
ENVIRONMENT_ROOT: the .config/environment folder
PIPELINE_ROOT: the .config/pipeline folder
You can now download the code from this repository and extract its content to your SERVER_ROOT. Using Z:/My Drive as the mounted Cloud server path, it should look like this:
You will need to modify SERVER_ROOT in .zshrc (Unix) and/or dcc.bat (Windows) by your mounted Cloud server path:
In .zshrc: export SERVER_ROOT="Path/to/drive/linux" (Line 12, 17, 21)
In dcc.bat: setx SERVER_ROOT "Path\to\drive\windows" (Line 9)
Once the folder structure is created and the SERVER_ROOT value has been modified, you can now assign the environment variables:
Windows
Windows supports shell scripting after some manipulations but it’s way easier to “hard” write the environment variables by running dcc.bat.
To check that everything is working:
Type Win + I to open the Windows Settings
Scroll to the bottom of the page and click About
Navigate to Device Specifications and press Advanced System Settings
In the System Properties dialogue box, hit Environmental Variables
The freshly created variables should be under User
Check is SERVER_ROOT has been defined with the right path
Unix
macOS and Linux are both Unix based OS.
The simplest way is to migrate your shell to Zsh using chsh -s $(which zsh) in your terminal.
You can then symlink .zshrc in your $HOME folder.
To check that everything is working, restart your terminal and type echo $SERVER_ROOT: it should output your mounted Cloud server path.
Warning
.zshrc needs to be called exactly that way in $HOME to be picked up by the terminal: remove any alias or symlink added in the name.
Warning
The Make Alias command in macOS Finder won’t work properly. You should use this service instead to create proper Symlinks: Symbolic Linker
Software
This setup automatically links the following DCCs, using this folder structure:
.
└── 📁 $SERVER_ROOT/
    └── 📁 .config/
        ├── 📁 environment
        └── 📁 pipeline/
            ├── 📁 houdini               ──> Using $HSITE
            ├── 📁 maya                  ──> Using $MAYA_APP_DIR
            ├── 📁 nuke                  ──> Using $NUKE_PATH
            ├── 📁 other
            └── 📁 substance_painter
                └── 📁 python            ──> Using $SUBSTANCE_PAINTER_PLUGINS_PATH
The DDCs can be launched normally on Windows if the dcc.bat file has been used to define the environment variables.
For macOS and Linux, you should start them from a terminal, in order to inherit the environment variables defined by .zshrc.
You can find an example script for Houdini just here: houdini.sh.
To access it quickly, we also defined an alias for houdini pointing to that script in aliases.sh. It will allow you to simply type this command to launch Houdini.
Houdini will automatically scan the folder defined by $HSITE for any folder being named houdini<houdini version>/<recognized folder> such as otls or packages and load the content of those folders at Houdini startup.
Solution: src/kata_trigrams/core.clj; use lein run generate f1.txt f2.json
to index f1.txt into f2.json, then lein run generate f2.json 42 to
generate 42 random words from the file f2.json
Tests: test/kata_trigrams/test/*.clj; use lein test.
CT-ADE: An Evaluation Benchmark for Adverse Drug Event Prediction from Clinical Trial Results
Citation
@article{yazdani2025evaluation,
  title={An Evaluation Benchmark for Adverse Drug Event Prediction from Clinical Trial Results},
  author={Yazdani, Anthony and Bornet, Alban and Khlebnikov, Philipp and Zhang, Boya and Rouhizadeh, Hossein and Amini, Poorya and Teodoro, Douglas},
  journal={Scientific Data},
  volume={12},
  number={1},
  pages={1--12},
  year={2025},
  publisher={Nature Publishing Group}
}
Developed with
Operating System: Ubuntu 22.04.3 LTS
Kernel: Linux 4.18.0-513.18.1.el8_9.x86_64
Architecture: x86_64
Python:
3.10.12
Prerequisites
Set up your environment and install the necessary Python libraries as specified in requirements.txt. Note that you will need to install the development versions of certain libraries from their respective Git repositories.
Place your unzipped MedDRA files in the directory ./data/MedDRA_25_0_English and your DrugBank XML database in the directory ./data/drugbank.
Ensure you clone and install the following libraries directly from their Git repositories for the development versions:
Download Publically Available CT-ADE-SOC and CT-ADE-PT
You can download the publicly available CT-ADE-SOC and CT-ADE-PT versions from HuggingFace. These datasets contain standardized annotations from ClinicalTrials.gov:
As an optional step, you can create a version of the dataset where MedDRA codes are replaced with user-friendly text labels. To do this, run the following command:
python g3_create_ct_ade_friendly_labels.py
Training Models
Discriminative Models (DLLMs)
Navigate to the modeling/DLLMs directory and run the training scripts with the desired configuration.
Navigate to the modeling/GLLMs directory and run the training scripts for different configurations.
cd modeling/GLLMs
Example configurations for LLama3, OpenBioLLM, and Meditron are provided in the folder. You can copy the desired configuration into config.py and adjust it to your convenience. Next, you can execute the following for the SGE configuration:


 https://github.com/AmarOk1412/.dotfiles